Export
 porvides several formats for exporting. Using
  -construction gets lost, the resulting files cannot be read with
  open
openGxt-files created by  Save
Save .
.
Export formats
The construction is saved in a new HTML-site, which can be readily opened with any webbrowser.
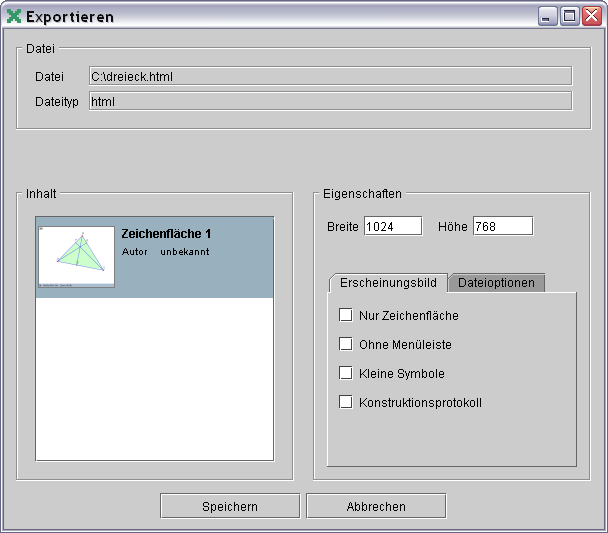
After entering the filename, a new dialogue, which provides further options, opens up.
Notice: &geonext cannot be started in an HTML page, if the file is placed in a folder that has a name containing diphtongs (ΓÇ£UmlauteΓÇ¥)!
General
Appearance File Options
A list of all boards can be found on the left hand side. The current board will already be selected. Other boards can be selected, simply by clicking on them. To select more than one board at the same time, the control key ("ctrl") has to be pressed while clicking.
Size
The fields "Width" and "Height" contain default values which are determined using the current size of  itself and the size of the current board. The unit of these values is screen pixels. A minimum of 600 x 600 pixels is advisable.
If the checkbox "Board Only" is checked, only the board is exported. The construction bar, symbol bar and menu bar will not be included. The result is a dynamical construction, which allows objects to be changed, but no new objects to be added.
No menu bar will be displayed, if the checkbox "No Menu Bar" is checked.
 provides two possible sizes for icons. For small screens (e.g. 800 x 600 pixel), small icons can be used, in order to display
  smaller.
A log file containing all construction steps is generated at the same time as the HTML page. This log file can be opened using  Construction steps
Save together with  Archive
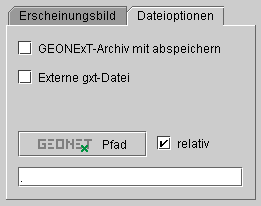
All necessary data for &geonext is located in the file "geonext.jar". This jar-archive is essential to display a  -construction in a HTML page.
If the checkbox " Save together with  Archive " is checked, the file "geonext.jar" will be saved in the same folder as the HTML page.
In the case that "geonext.jar" does not get exported, its location has to be specified under " -Path". Alternatively the jar-archive can be copied into the same folder manually.
By default the source code of the construction is saved in the HTML-page, with the advantage, that there is only a single file.
If frontend>External gxt-File is checked, the boards are saved in a separate gxt-File, with the advantage, that these files can be opened, changed and saved again in  later on without affecting the HTML-page.
If the  -archive "geonext.jar" is not located in the same folder as the HTML-page, the path to the jar-archive has to be specified. This can be done either absolute or relative. The button "
 Path" enables the user to choose the path comfortably using a file dialogue. Alternatively it can be entered manually in the text field underneath the button.
Example
The HTML-page was saved in C:\My_Documents. The  -archive is loacted in C:\Program_Files\GEONExT. The correct path will be:
- relative: ..\Program&_Files\GEONExT\
- absolute: C:\Program_Files\GEONExT\
The board selected in the list "content" is saved in the PNG format (Portable Network Graphics). This means that the dynamic construction becomes a static image.
This file format is especially well suited for inclusion in other documents (e.g. word processing) or in HTML pages as graphics.
A slideshow sequentially displays pictures which were created in  using
using  Screenshot
The slideshow is exported in the HTML format, the single pictures (ΓÇ£slidesΓÇ£) are exported as PNG-files.
After entering the filename, when exporting as a slideshow, a dialogue which allows further changes to various settings appears.
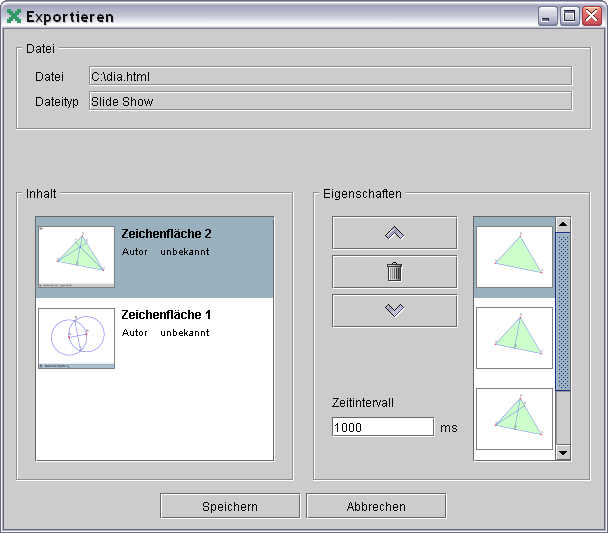
First a board has to be selected in the list "Content". The order of the slides can be changed under "Properties". Furthermore slides can be deleted using the button  .
.
The time specified in the field "Time Slice" determines the time in milliseconds between two slides in the slideshow.
Viewing the slideshow
Opening the HTML page starts the slideshow.
Example
A slideshow named test.html was saved. Its slides get named test0.png, test1.png, ..., testn.png.
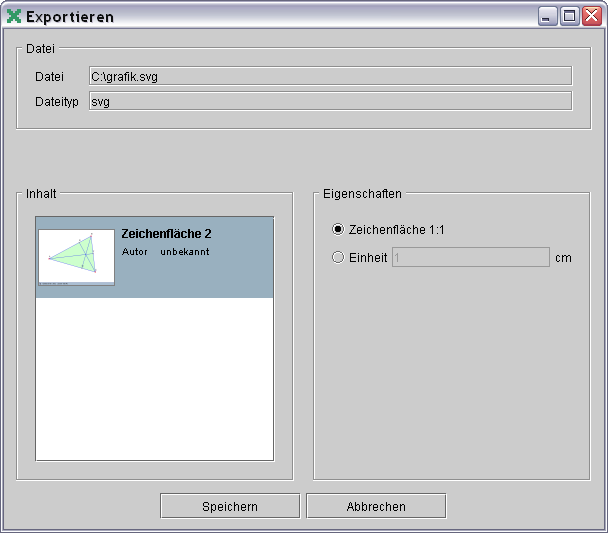
The constructions selected in the list "content" are saved in the graphics format SVG (Scalable Vector Graphics). This means that the dynamic construction becomes a static image.
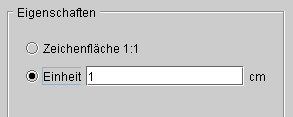
"Properties" offers two options.
- "Board 1:1"
The SVG file and the
 board are displayed in the same scale.
- "Unit ... cm"
If this option is chosen, one unit corresponds exactly to the number of centimeters specified.
Notice
SVG files can only be created with a plugin.
See Also:
 Top of Page
 Save as
 Print board